
A Guide To Crafting Your Own Paracord Bracelet
Paracord can be one of the most useful and easy to store items that you can carry in your camping gear and emergency bags. From building a survival shelter to replacing your bootstrings when needed, paracord surely comes in handy for any day to day situation. In this step by step guide, we will walk you through everything you'll need to know to craft your own paracord bracelet so you can always be prepared for anything that comes your way.
Step 1: What You'll Need
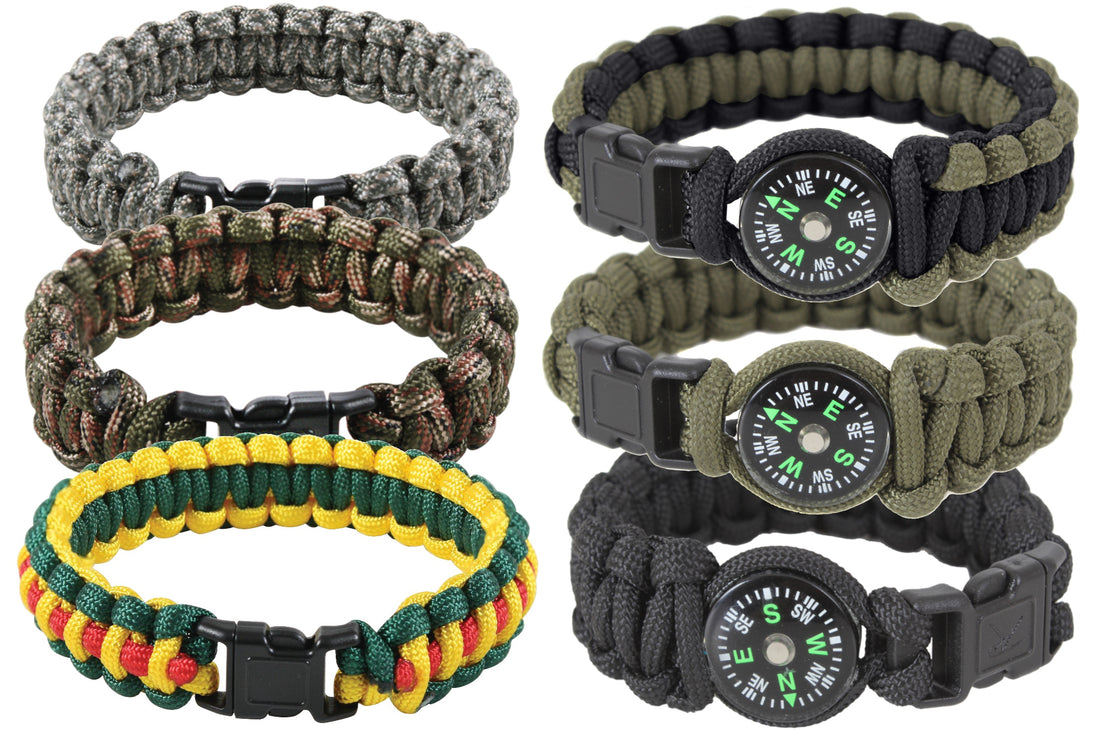
- Paracord ![]()
- Buckle 
- Scissor 
- Lighter 
- Ruler 
- Marker 
Step 2: Wrist Measurement
Starting off simple, wrap the paracord around your wrist until the paracord meets. Using your marker, make note of where the paracord meets and remove the paracord. Use the ruler to measure and record your measurement because this will be your wrist size.
Step 3: Find the Center of Your Paracord
Holding both ends together, locate the center of your cord and pull it through either end of buckle. If you're using a 5/8" buckle, you can loop the paracord around the Buckle again before you start knotting, filling in extra space. We recommend a smaller size for comfort, especially for lengthy periods of use.
Step 4: Determine the Bracelet Length
Unclip the buckle, then insert the cord's free ends through the other opening and slide it up toward the attached portion. To choose the bracelet size that fits your wrist, measure the space between the two buckle ends. Your measured wrist length should be increased by approximately 1 inch to provide a suitable fit for the completed bracelet. You are taking your measurement from the buckle's female end to the male buckle's end. If needed, repeat this process until your bracelet fits comfortably.
Step 5: Making Your Knots
The bracelet knot we will be using goes by several names, including cobra stitch, Solomon bar, and Portuguese sinnet. By experience, these knots are strong and highly recommended for style and utility. Starting on your knots, place the left side cord beneath the middle strands between the buckle ends. Now place the right side chord beneath the left side cord, over the center strands, and thru the loop of the left side cord. Tighten snug so your new half knot is formed and next to the buckle. Similarly for the right side, take your right cord and lay it right under the center. The left side cord will go under the right side, over the center cords and through the loop of your right side cord. Tighten (not too tight) to complete the knot. You will continue to alternate the left and right sides as you go. If done improperly, you'll see your knots start to twist. Easy enough, just undo the last knot and keep pushing onward.
Step 6: Continue Your Knots
We believe that every paracord bracelet should look just as good as it performs. Continue your knots in a uniform fashion, keeping the same tension so your bracelet comes out looking professional and feeling even.
Step 7: Trim the Excess and Melt Your Ends
This step requires extra attention, so put your thinking caps and goggles on. Grab your scissors and trim off the extra cord, cutting close to the last knot you tied. Taking caution, take the flame from your lighter and quickly melt the cut end. Allow the melted ends to cool so you can apply pressure, hardening as you push down. You can use a butter knife for flat surface to assist you if the cord is too hot.
Step 8: Finishing Your New Bracelet
You are now finished! In making your own paracord bracelet, you can truly appreciate the craftsmanship and time you put into making this piece of survival gear. These make perfect gifts for any adventurous loved ones and friends, so show it off and refer back to these steps whenever you need.
